Whether you are an amateur or professional grower, sowing seeds is the exciting start of your growing journey. However, it takes time, and careful planning to ensure you yield crops.
All seeds which come with varying requirements, so knowing how to sow is step one of the process. Seeds need care, nourishment and patience in the early stages.
If you’re looking for guidance on when to start planting seeds and the right techniques to ensure they grow well, we’ve highlighted some key techniques below.
Sign up to join the Allotment Online community for more support and tips or sign up for our newsletter for news, giveaways and more.
If you’re eager to get going with this season’s crops, you can make a head start for your young plants by sowing them indoors. The UK temperature is unpredictable, which means many seeds cannot thrive in the early spring cold and must be sown indoors and hardened off first.
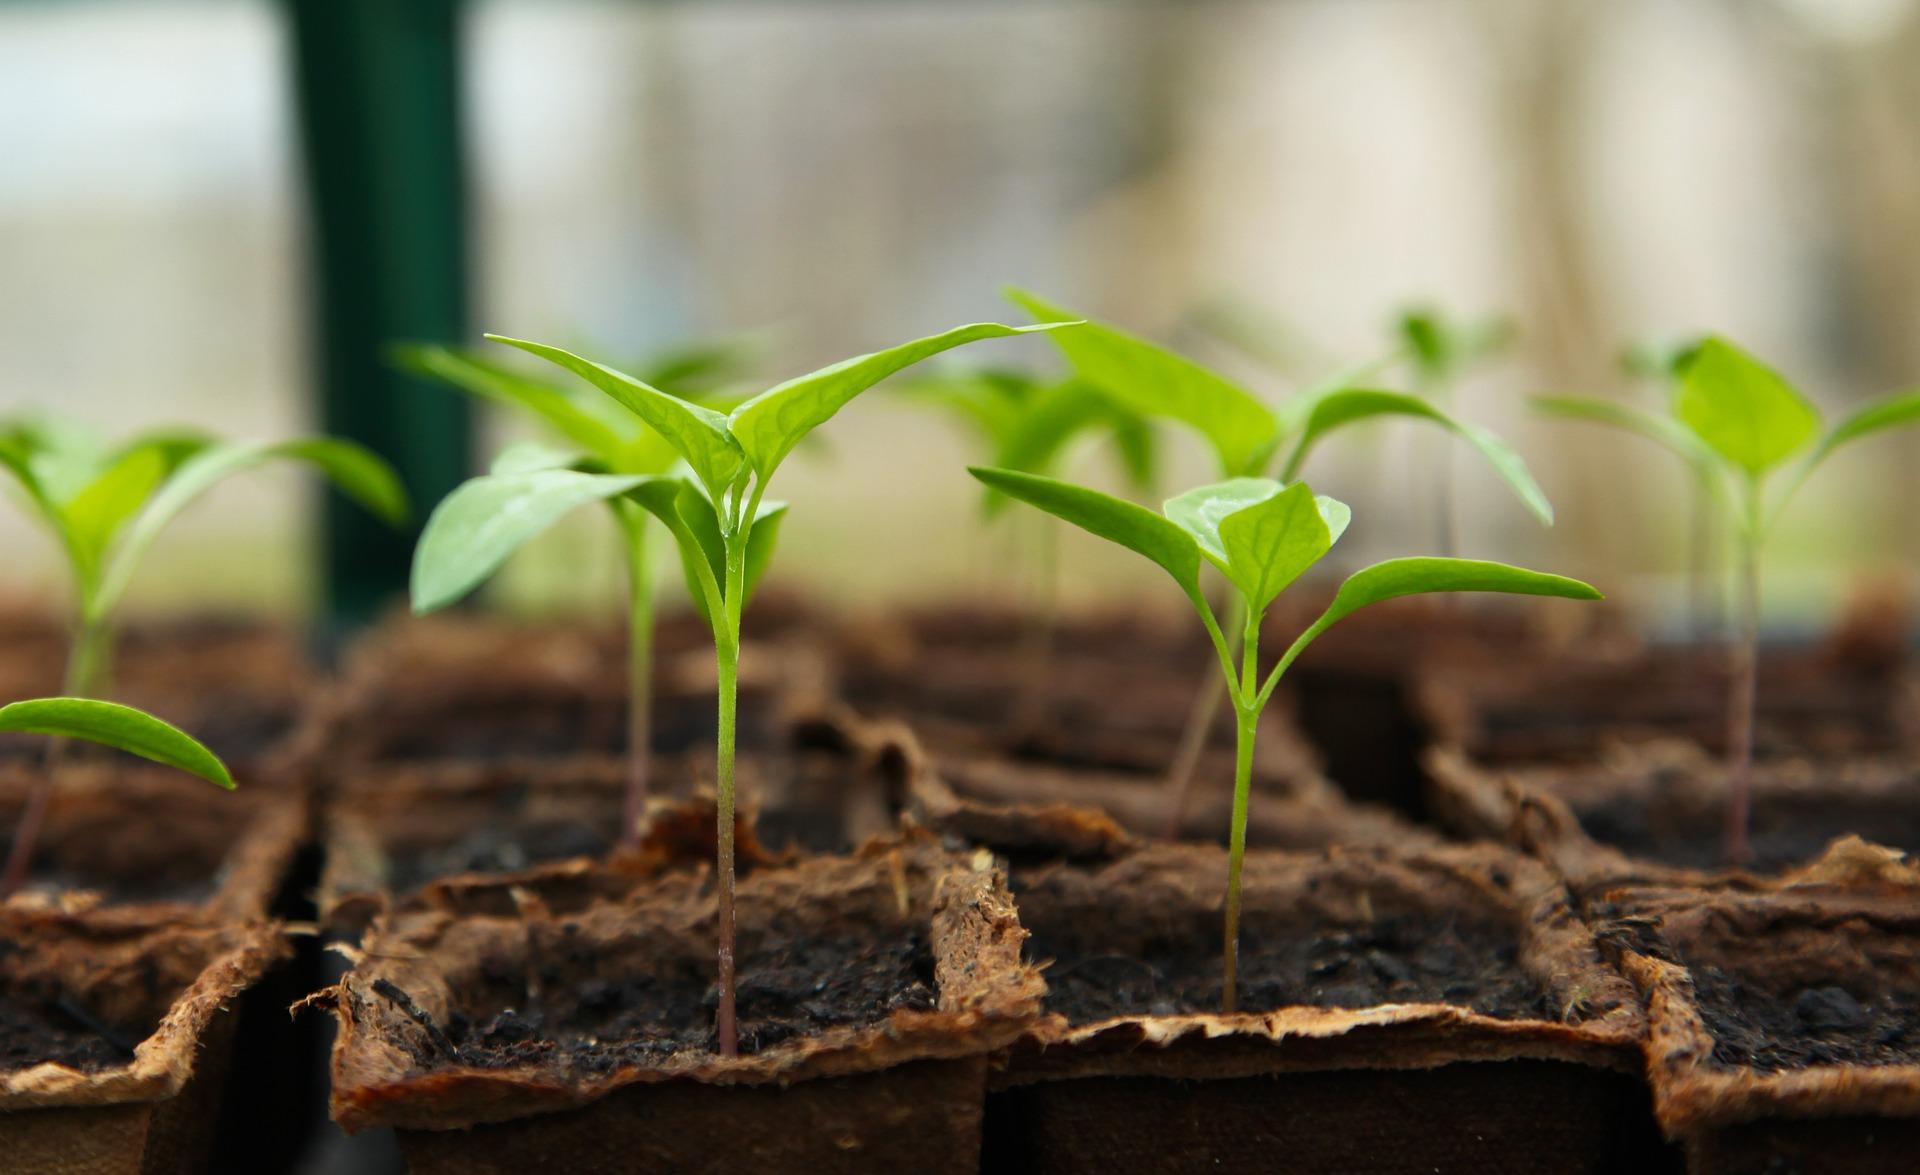
Seeds need a frost-free, light location such as a sunny windowsill, porch, conservatory, or greenhouse. They can be planted in modular pots, or recycled containers. Use peat-free compost, breaking down lumps or using finer textured compost for small seeds and trays. Propagators or trays with clear lids provide warmth and humidity - tomatoes and chillies particularly like these.
Choose seeds you’d like to grow or use saved packets, but make sure to check best-before dates. Always follow individual seed instructions and remember to keep packets handy for sowing times and next steps!
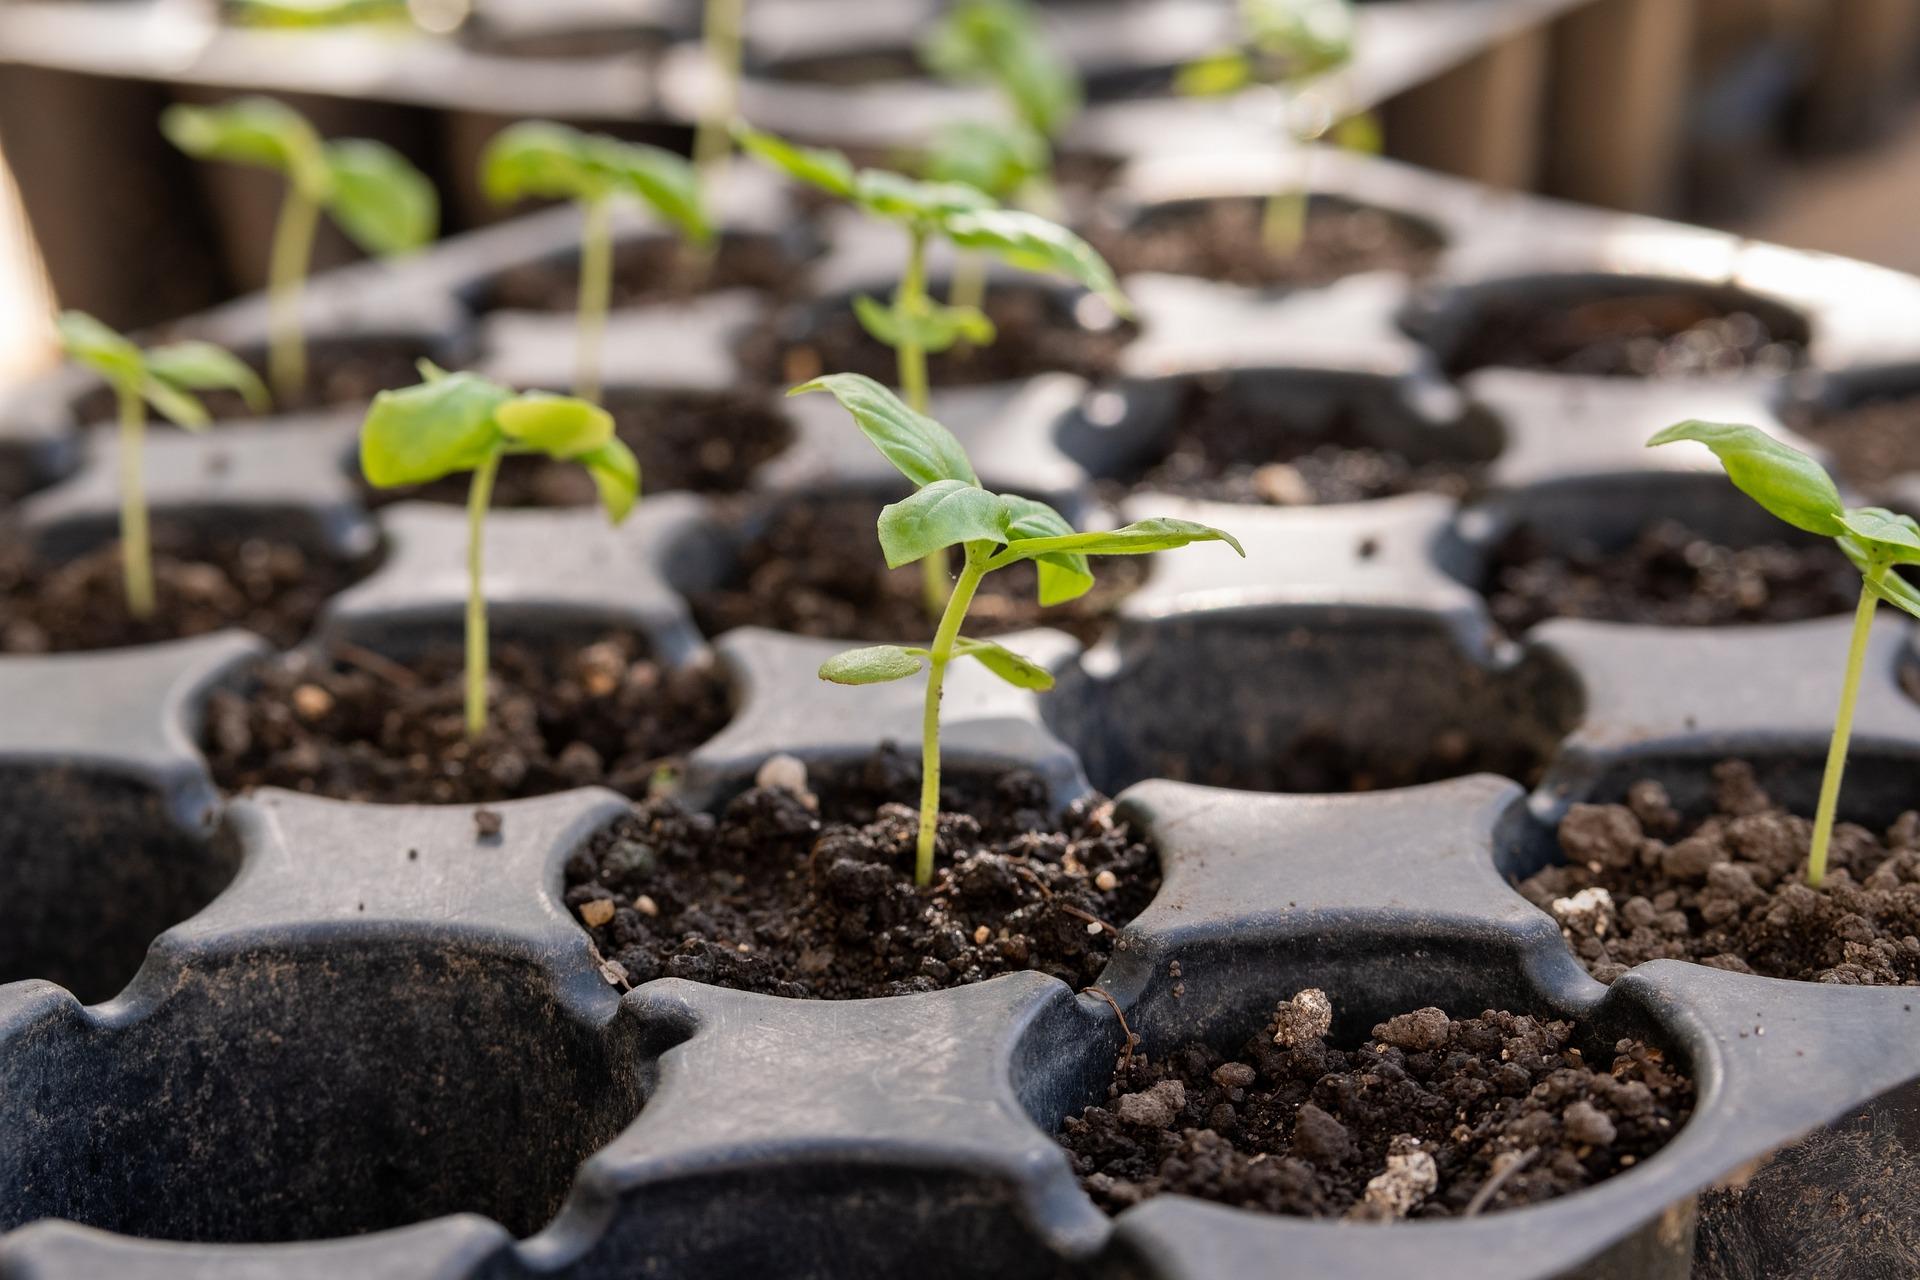
When sowing, fill trays with compost, leaving a small gap at the rim. Sprinkle small seeds thinly, cover lightly, or gently push larger seeds into modular trays. Water lightly using a can with a rose head or let trays soak from below. Label everything clearly, including sowing date.
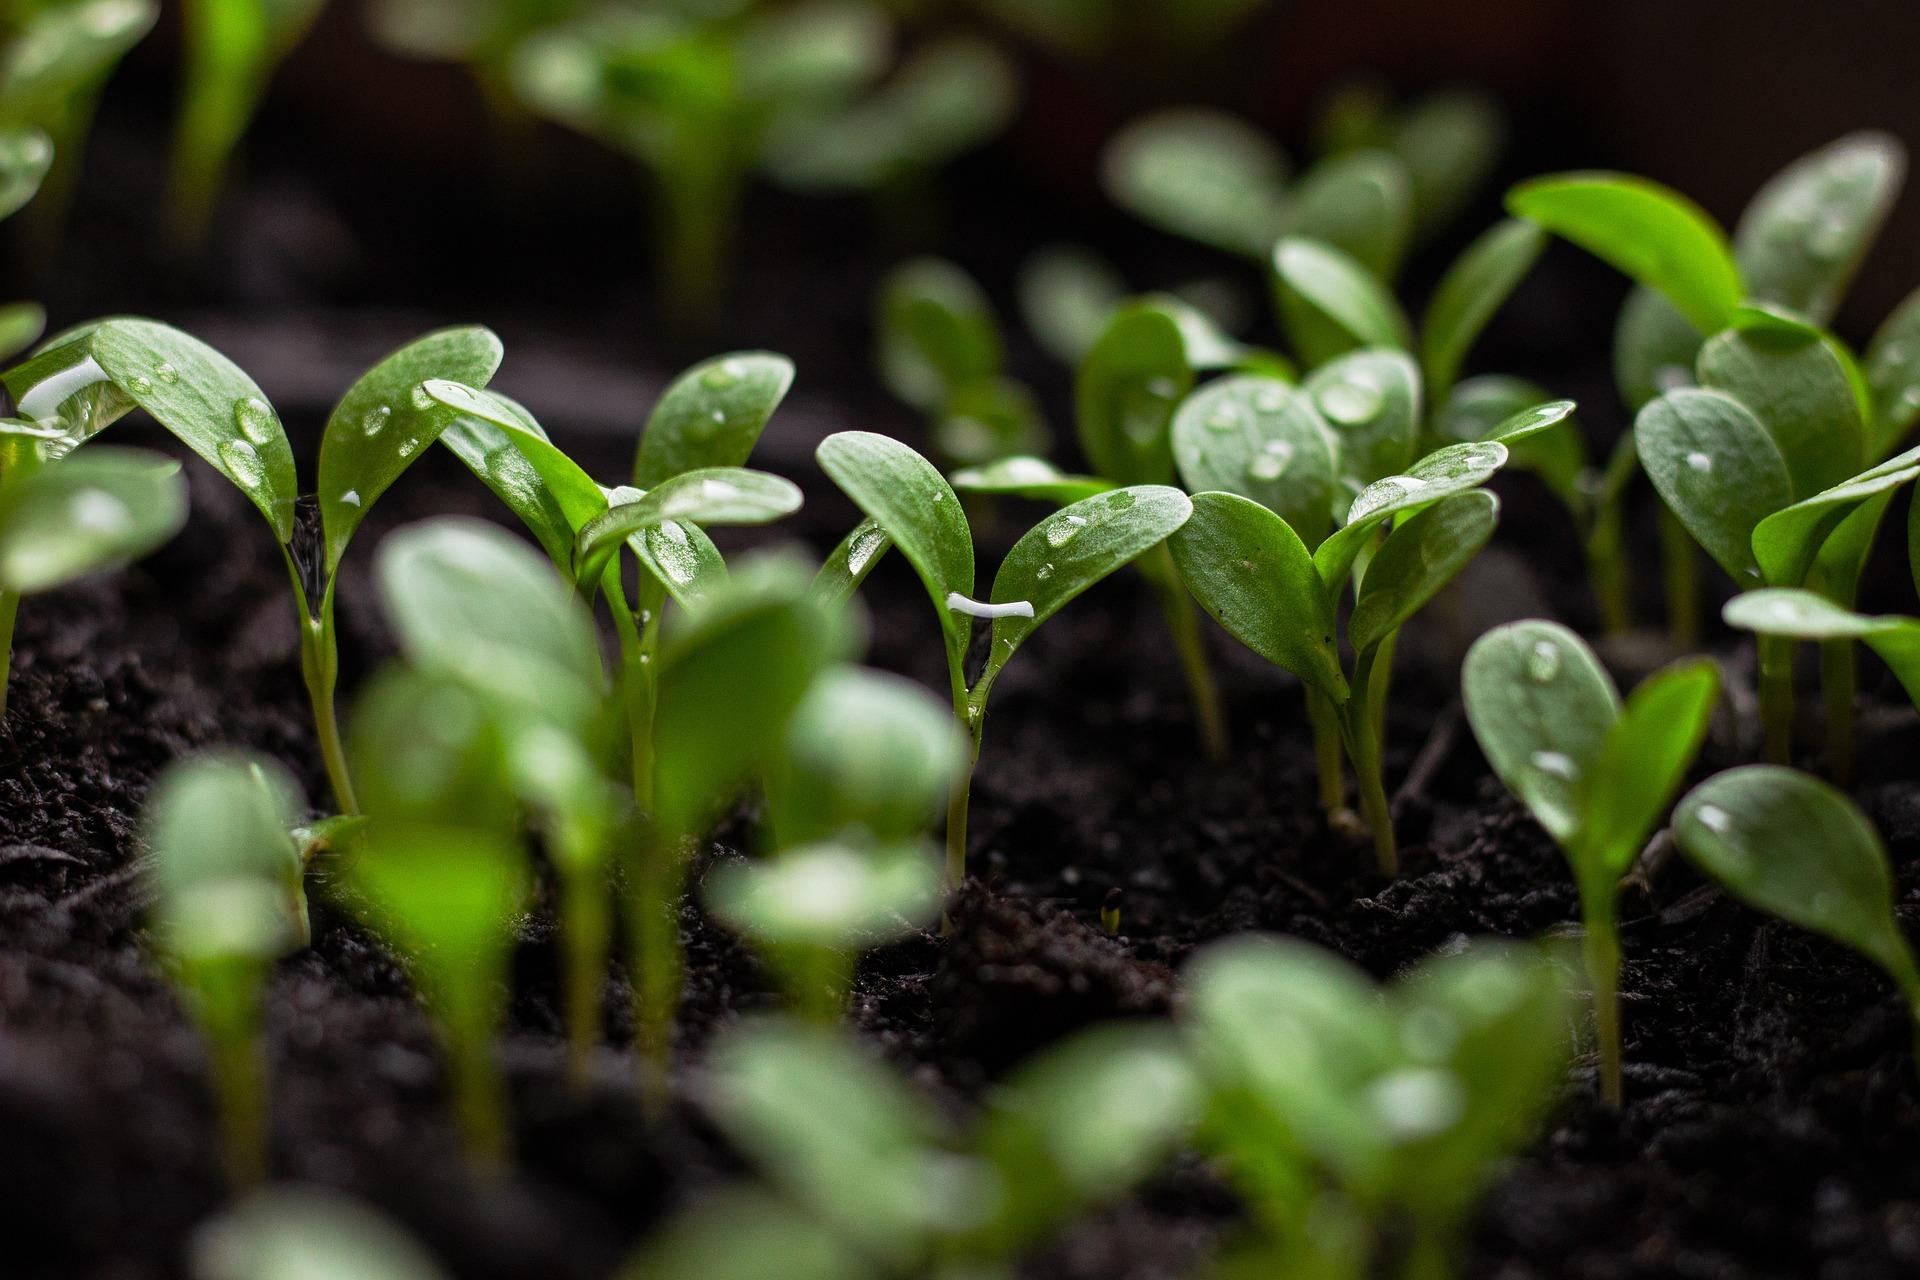
Once seedlings germinate, gradually harden them off - start with short outdoor periods, extending daily. Bring them indoors at night, then cover with a cold frame or fleece until hardened over two weeks. Ensure seedlings get even light to avoid legginess and prick them out early to prevent damping off.
Wondering how to sow seeds into seedbeds? A seedbed is an area of carefully prepared soil where seedlings are raised before being transplanted into their permanent growing position. This method is commonly used for crops such as cabbage, leeks, and lettuce, which benefit from developing strong root systems in a controlled space.
Choose a sunny, sheltered spot and prepare the soil by clearing weeds, loosening with a fork, and adding compost or well-rotted manure. Rake the surface to a fine tilth so seeds can germinate easily. Sow in shallow drills, spacing seeds thinly to avoid overcrowding, and cover lightly with soil.
Keep the bed well-watered and free from weeds. Make sure the seedbed area gets plenty of sunlight and is protected from high winds, frost and flooding. You must also protect from pests and weeds, and keep the soil properly fertilised.
Once seedlings are sturdy and have several true leaves, carefully lift and transplant them to their final growing site.
When planting seeds, you need to be aware of the spacing and depth at which you should place the individual seeds. Larger seeds can sometimes be sown at a depth of a metre into the soil, while smaller seeds must be planted a few inches below the surface.
Another essential factor to consider when sowing seeds is how big the plant will grow upon maturing. For example, when growing herbs like coriander or basil, the distance between seeds can be smaller. However, for a good yield of tomatoes, they should be planted far apart so that each plant receives enough light and ventilation. Similarly, but even more so, pumpkins grow into large plants with large produce and should be spaced even farther apart.
Be careful not to break or disturb the root system when removing seedlings for transplanting. To guarantee a good yield, you must thin out the young plants as soon as they emerge. Keep the stronger plants and remove the weaker ones.
Leave enough space between plants to allow for easy weeding without disrupting the root system. Watch for slugs and birds, which are common predators of these young plants in their early stages.
First, procure high-quality seeds from your local garden centre. Check the package for the date of expiry or any signs of damage and store the seeds in a cool, dark and dry place until it's time to sow them. If they’ve been opened, make sure they are kept in an airtight container with proper labels, so you don’t mix them up.
To successfully germinate seeds, you need the right mix of sunlight, temperature, moisture and nutrients. The more delicate plants must be sown indoors and allowed to harden off before being planted outdoors, whereas the hardy seeds are directly sown outdoors.
Maintain proper lighting and a well-drained compost during germination. Furthermore, avoid adding too much fertiliser and keep the soil moist to avoid waterlogging.
Different seeds take different amounts of time to germinate, but the seed package should explain!
There are some hardier vegetable and fruit seeds that can be sown directly into the soil once the ground has warmed and there is no risk of frost. Choose a well-drained, weed-free area and rake the soil to a fine tilth so seedlings can establish easily.
When sowing seeds outdoors, you will need to create a shallow trench or drill, place the seeds at the spacing suggested on the packet, and cover lightly with soil before watering as instructed. Top tip - keep the rows clearly marked so you can identify weeds later.
Once seedlings emerge, thin them out if they are overcrowded, leaving the strongest plants to grow on. Outdoors, young plants are more vulnerable, so protect with netting or fleece from birds, slugs and cold snaps.