Are you planning to grow Jerusalem artichokes but worried it might be too much work? The truth is, growing Jerusalem artichokes in the UK is straightforward and requires very little maintenance.
Unlike globe artichokes, Jerusalem artichokes grow from tubers rather than seeds. They’re similar to potatoes and do best when planted in the same spot each year. Choose a sunny position, but remember that the artichokes can reach over 2 metres tall, which may cast shade on neighbouring crops or make them vulnerable in windy areas. Using a fence or windbreak can help protect them from these concerns.
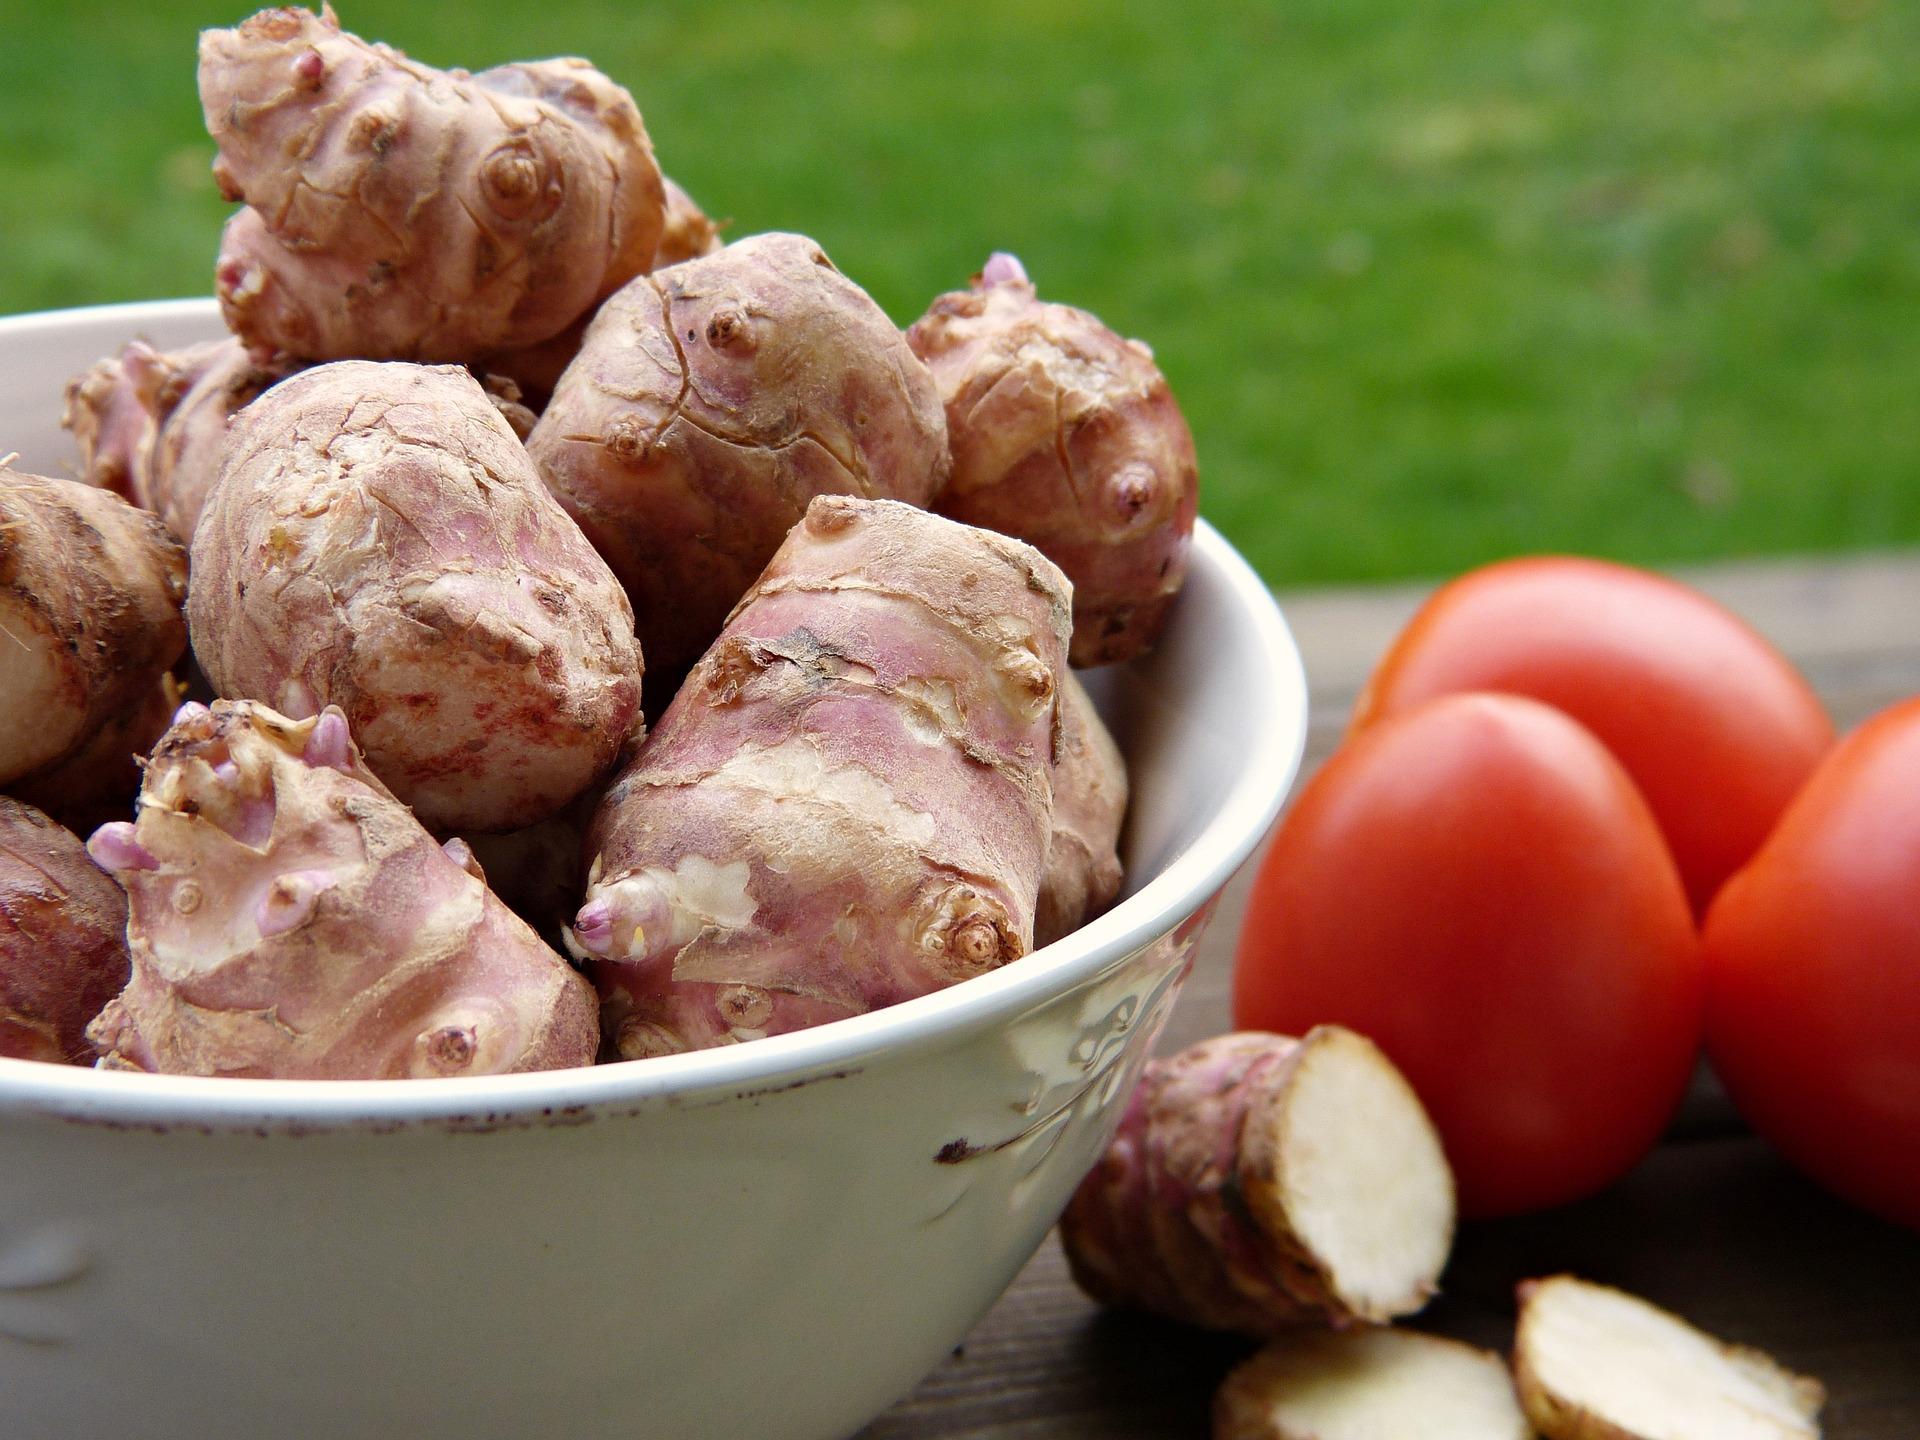
Being part of the sunflower family, Jerusalem artichokes are rich in iron and potassium. They’re a versatile addition to soups, stews and roasts. Unlike potatoes, they contain inulin rather than starch, which can be harder to digest.
Read our complete guide on how to grow Jerusalem artichokes, and don’t forget to sign up for our newsletter for the latest allotment tips and growing advice.
Jerusalem artichokes are extremely hardy plants. If you leave them in the ground after harvesting, they can easily withstand the harsh winter cold and sprout in spring to produce a fresh harvest in autumn.
Since Jerusalem artichokes can only be grown from tubers, you’ll need to source healthy tubers. The best tubers are sourced from a garden centre between late winter and early spring, but you can also use supermarket tubers if they’re firm and disease-free (although they tend to be more costly).
There are 2 main varieties of Jerusalem artichokes to choose from:
You can plant Jerusalem artichokes in early spring, from February through to early May. If you’ve left tubers in the ground over winter, don’t worry, they’ll stay dormant during the cold months and begin sprouting again from February onwards.
Jerusalem artichokes thrive in the sun. Choose soil that is moisture-retentive but not prone to waterlogging, as excess water can spoil the tubers. Mixing in plenty of garden compost or mulch before planting will help improve soil quality and boost your yield.
Plant the tubers approximately 5 inches deep and about one foot apart. They will need plenty of space, as even a few tubers can produce a large crop. The dwarf variety can also be grown in a large container. The container should be at least 18 inches wide and deep, and the tubers should be planted 6 inches deep to allow them to grow to their full potential.
Although Jerusalem artichokes are highly resilient and can withstand harsh conditions, the quality of your harvest may suffer without proper care. It’s essential to water them regularly, especially during dry spells.
When plants reach around 12 inches high, earth them up slightly to provide extra support, and use stakes or canes if necessary to help stabilise taller varieties.
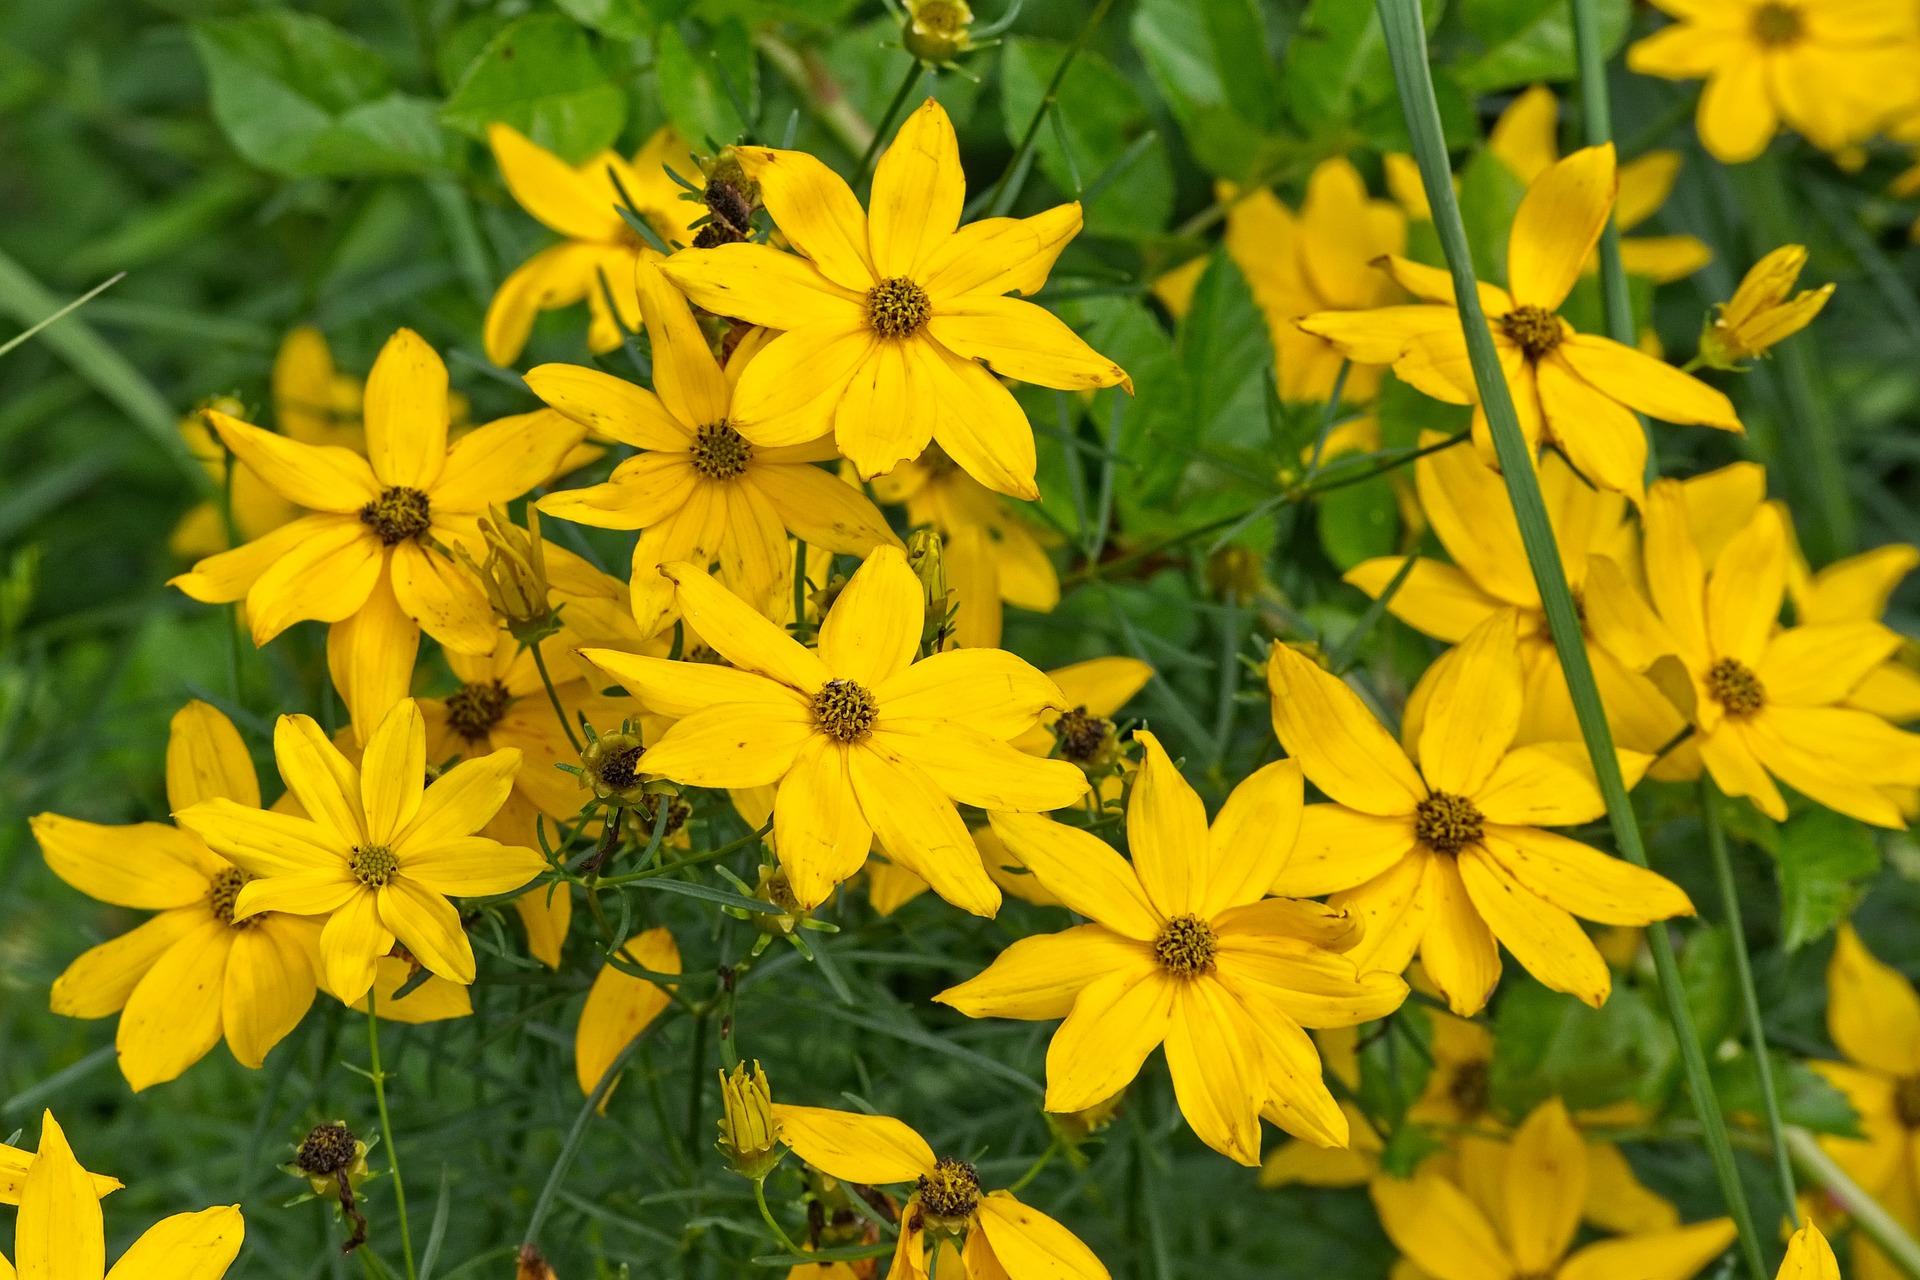
By late summer through autumn, your Jerusalem artichoke plants will reward you with a stunning display of yellow flowers. These not only look cheerful but also attract pollinators such as bees, adding even more value to your allotment.
If you’re unsure when to pick Jerusalem artichokes, start harvesting in autumn, after the leaves have turned yellow. Cut the stems back to just a few inches above the ground, leaving short stumps.
You can use a fork to lift the tubers for harvest, just as you would with potatoes. Make sure you only harvest what you need at a time, as Jerusalem artichokes do not store well once lifted. The good news is you can continue harvesting them throughout autumn and winter.
When harvesting, remember to thoroughly dig, as any tubers left in the ground will sprout again the following year.
Once harvested, Jerusalem artichokes are easy to prepare. Scrub them clean, boil them and peel them once they are tender. They can also be roasted, mashed or added to soups and stews for a sweet, nutty flavour.
Ready to start growing Jerusalem artichokes? Allotment Online offers helpful strategies, crop-specific tips, and an enthusiastic and experienced grower community to help you on your gardening journey.
Join today to share your stories, get advice from fellow gardeners, and enjoy the satisfaction of harvesting fresh, homegrown veg. Got a question or story to share? We’d love to hear it! Sign up and become part of the community!
Are you looking for tips on growing beetroot, herbs or blueberries? Head to our Grow Your Own page, and we’ll answer more specific growing-related questions.