Thanks to their nutritional benefits and ease of cultivation, microgreens are growing in popularity. Slightly more developed than sprouts but not yet mature plants, they’re harvested just after the first leaves appear.
Ever noticed tiny, vibrant leaves delicately placed on restaurant salads or mains? Those are microgreens! Packed with flavour and nutrients, they add a gourmet touch to even the simplest dishes.
The good news? You don’t need a garden or fancy tools to learn how to grow microgreens - your kitchen windowsill will do just fine. They're quick, easy, and a great starting point for new growers. In the UK, growing microgreens can be done using surplus seeds. You can also buy microgreen starter kits at most garden centres.
If you are just getting started with your allotment journey, here’s a complete guide on how to grow microgreens. What's more, you could sign up here for support and useful tips from fellow growers! Read on to learn more.
You don’t need special equipment to grow microgreens - a simple shallow tray or even a clean takeaway container will do. Before you begin, make sure your tray is clean and your seeds are still in good condition. Use sterile compost, or line the bottom with damp kitchen paper to help with water retention.
Sow your seeds onto the surface of the compost, then press them down gently. Larger seeds (like peas or beetroot) can be soaked first to help with the germination process. You may dust a little compost or vermiculite over the top to keep them lightly covered.
Mist the surface gently to keep it moist - avoid pouring water directly. Keep the tray somewhere warm and bright, such as your windowsill, ideally between 15–20°C. Lids or plastic covers can be used to retain humidity, but remove them once the seedlings start sprouting.
You can grow mixed microgreens, but it's best to grow similar-sized seeds together in one tray for easier harvesting. Alternatively, keep each variety in separate trays.
Check your trays daily to maintain moisture and monitor growth. In just 7–10 days, your microgreens will be ready to harvest. You can cut the microgreens with scissors. Pluck a single leaf to determine the flavour intensity.
In the right conditions, you can take your growing trays and containers outside too. The question is when to plant microgreens? Which season is the best?
Microgreens can be planted and grown year-round, however, winter growing can be trickier due to low light and colder temperatures. You may need a grow light or some heating support to help them along.
If you are an impatient grower wondering when to pick microgreens, you are in for a treat, as they usually are ready to harvest within 7 to 10 days of sowing. In colder conditions, it may take a few extra days. You’ll know they’re ready when the first set of true leaves appears.
Microgreens are best enjoyed fresh - top them over salads and proteins like fish or chicken. They are a great addition to wraps as they add a nice crunch. You can also use them as a delicate garnish on savoury dishes and desserts. Avoid storing them for long periods, as this can reduce their flavour and nutritional value.
Some seeds you may well have left over that can be grown for microgreens include:
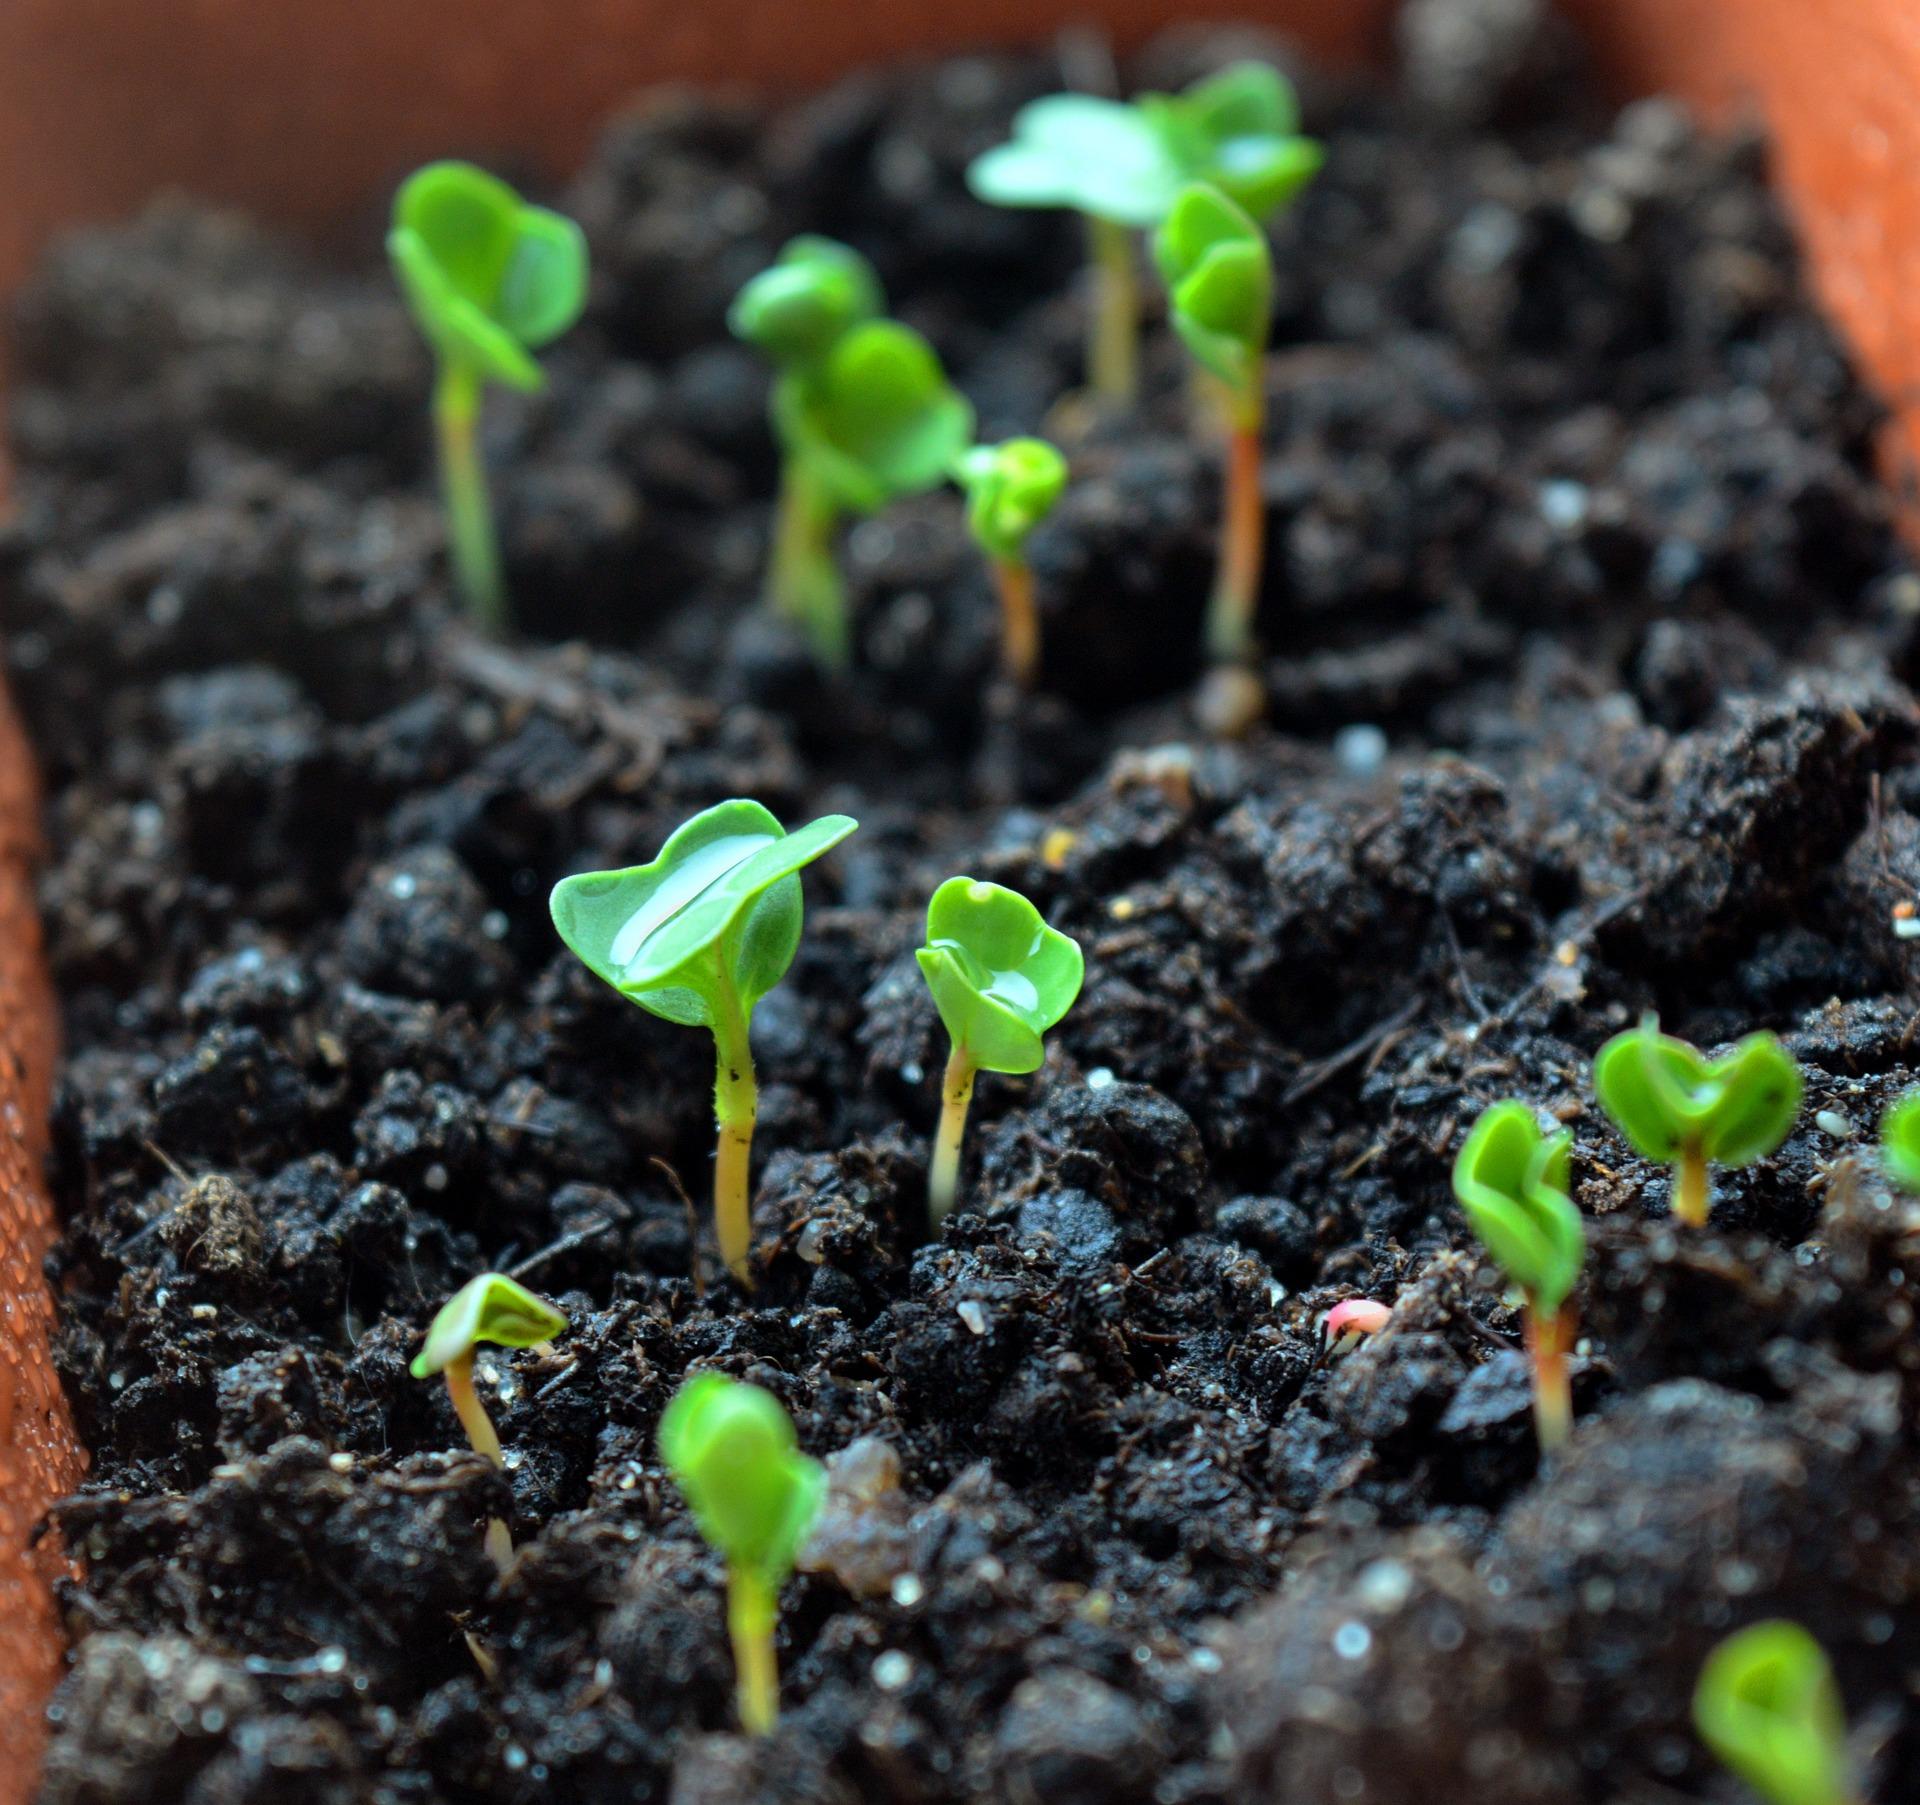
Sowing Microgreens
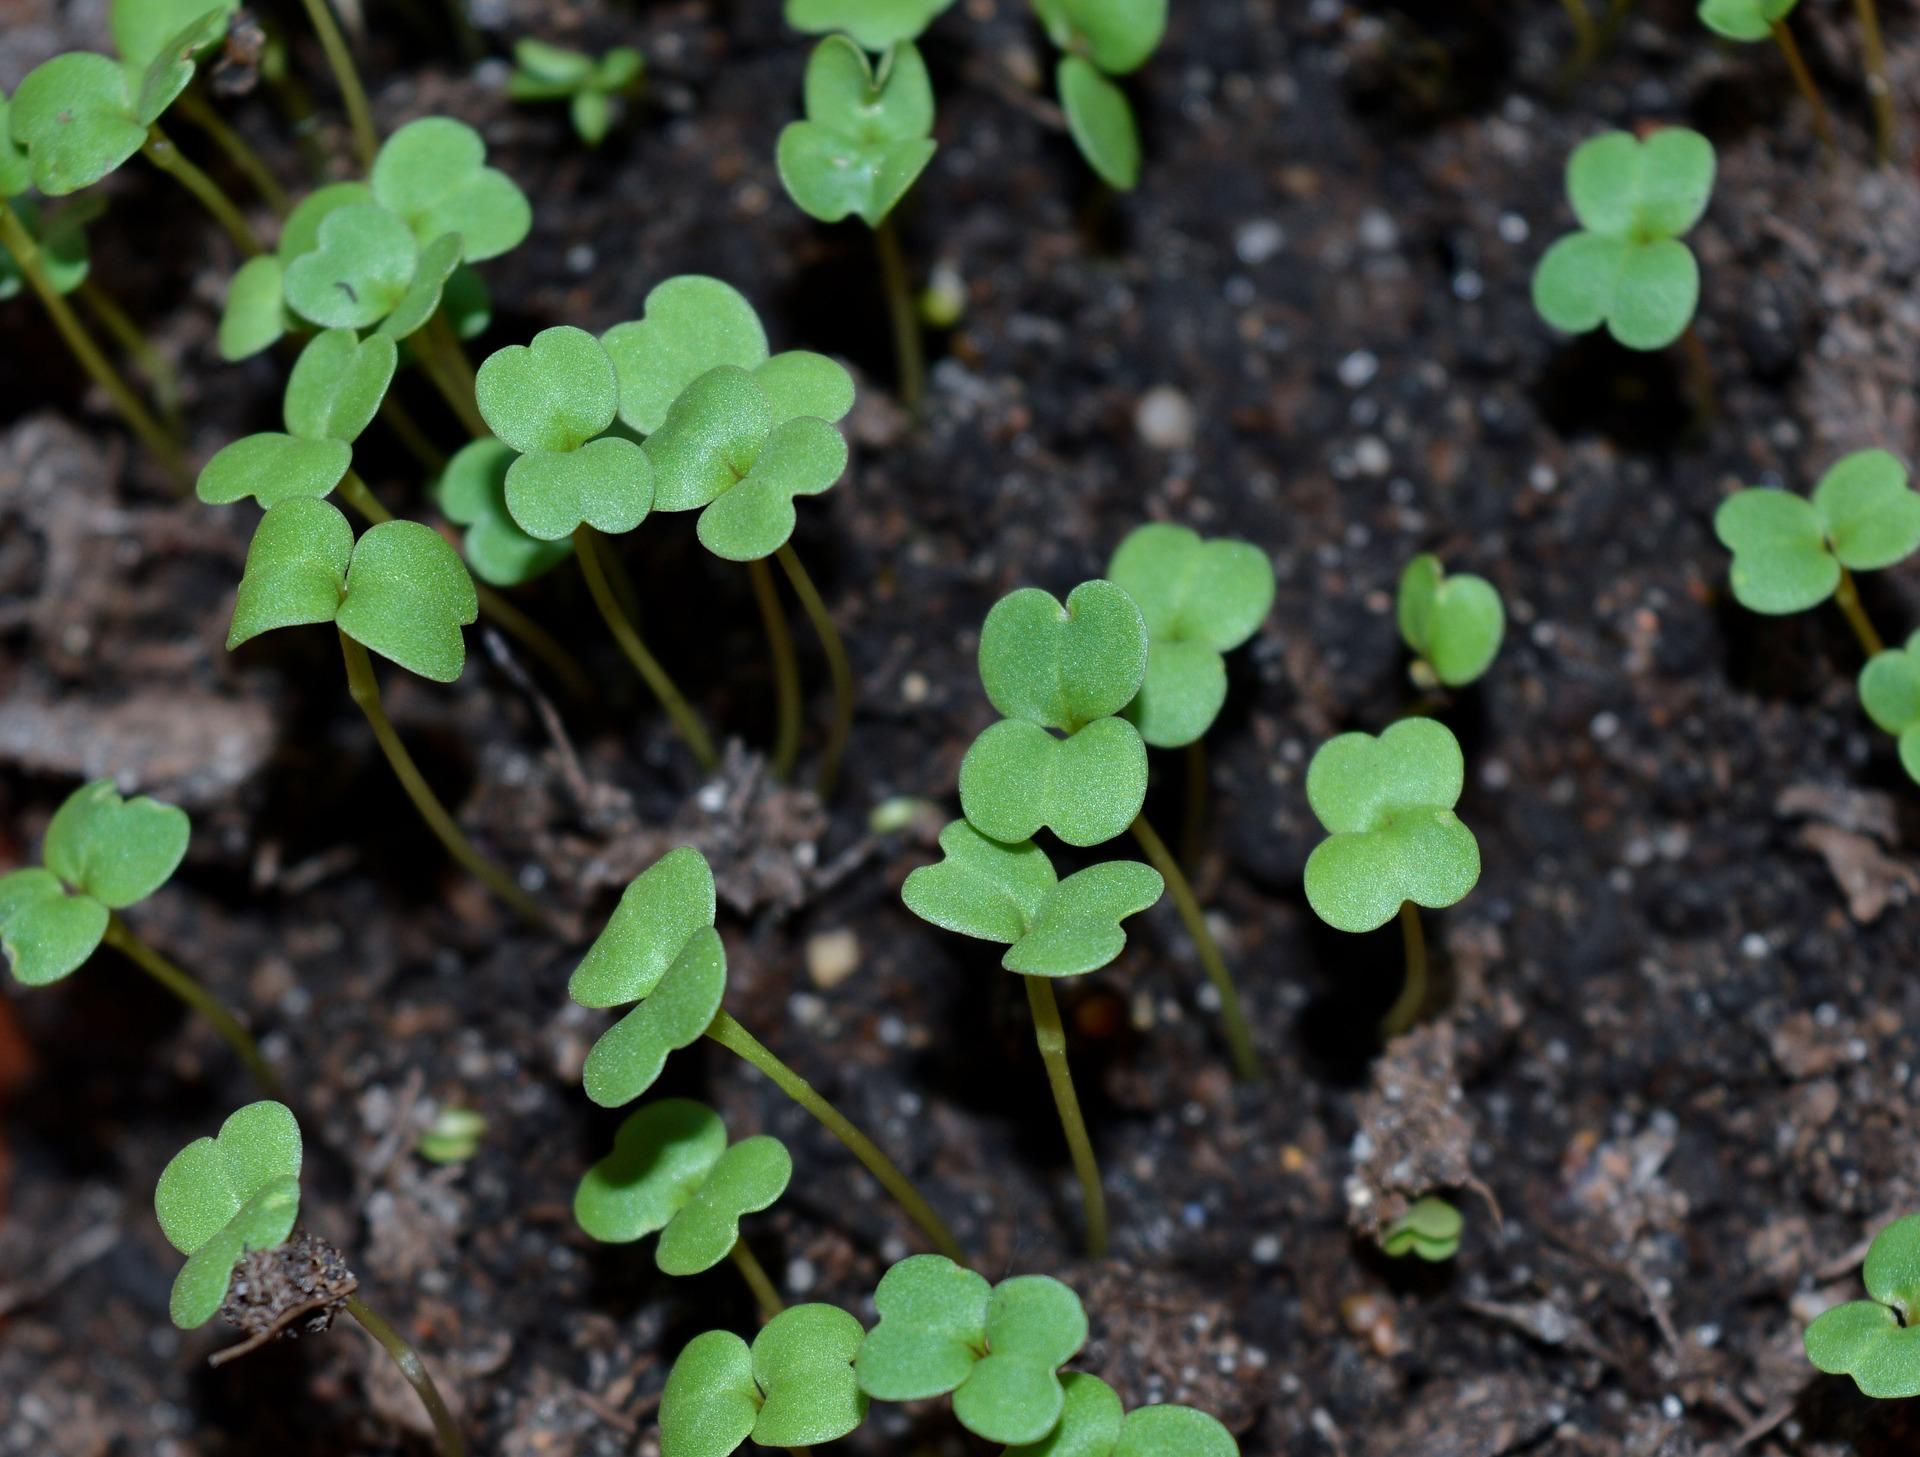
Growing Microgreens
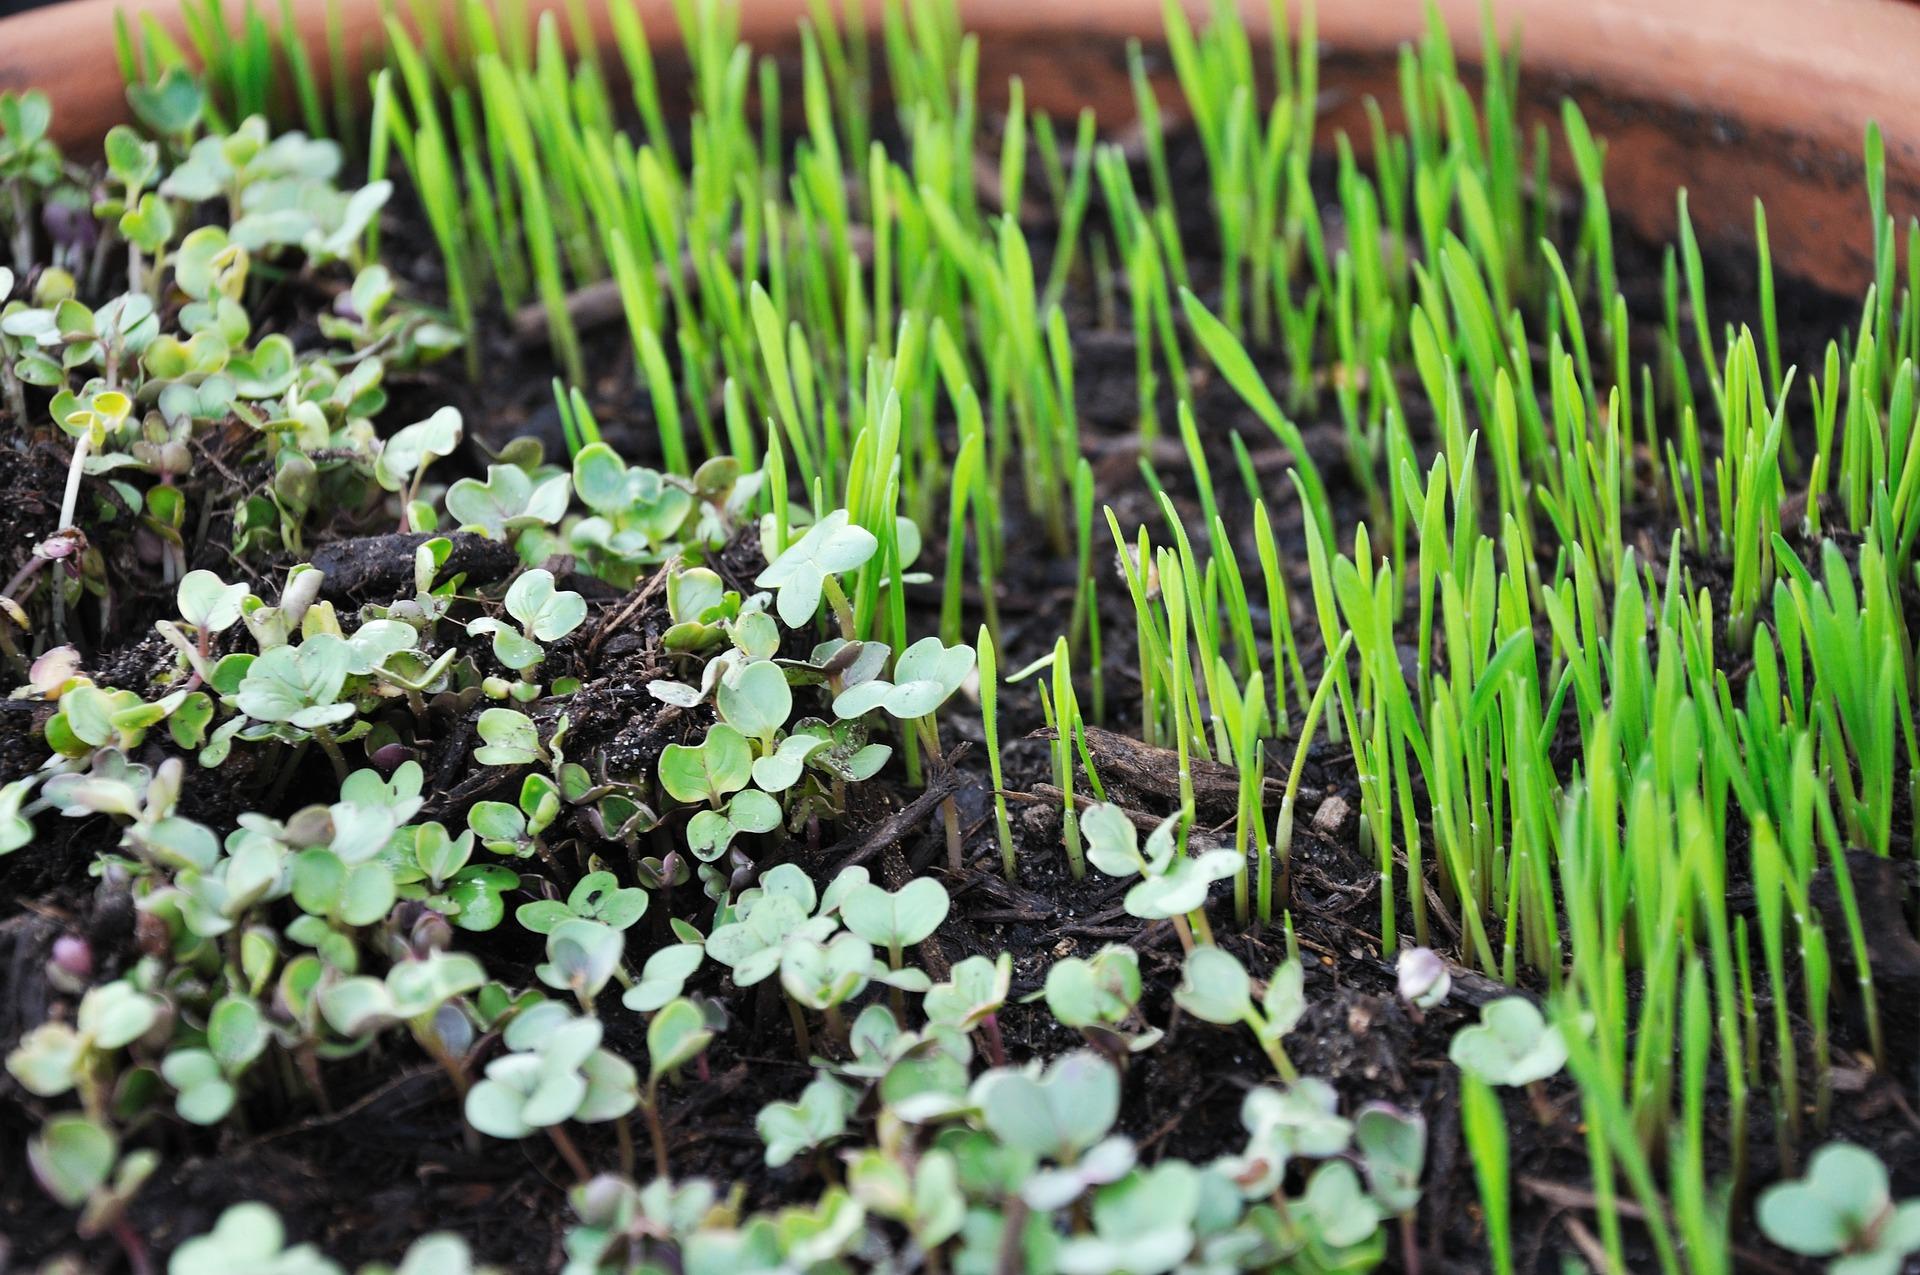
Harvesting Microgreens
Ready to try your hand at growing microgreens in the UK? Whether you live in the city or have limited space, microgreens are the perfect first step into home growing.
At Allotment Online, we offer helpful guides and community support for every step of your growing journey. Once you’ve mastered microgreens, move on to growing herbs, vegetables, and fruit—right from your windowsill or garden.
Got tips or a success story to share? Sign up and join our community today!
Looking for tips on growing herbs, tomatoes or pumpkins? Head to our Grow Your Own page, and we’ll answer more specific growing related questions.